Image Binarization
How to use ViewCompanion Premium image binarization filter
ViewCompanion Premium can be used to convert color image into a black-and-white image.
If the documents are old they may have turned yellowish due to aging, an effect that are commonly known as foxing.
Both the binarization and the defoxing filter can help you remove foxing. Below we will explain how to use the binarization filter.
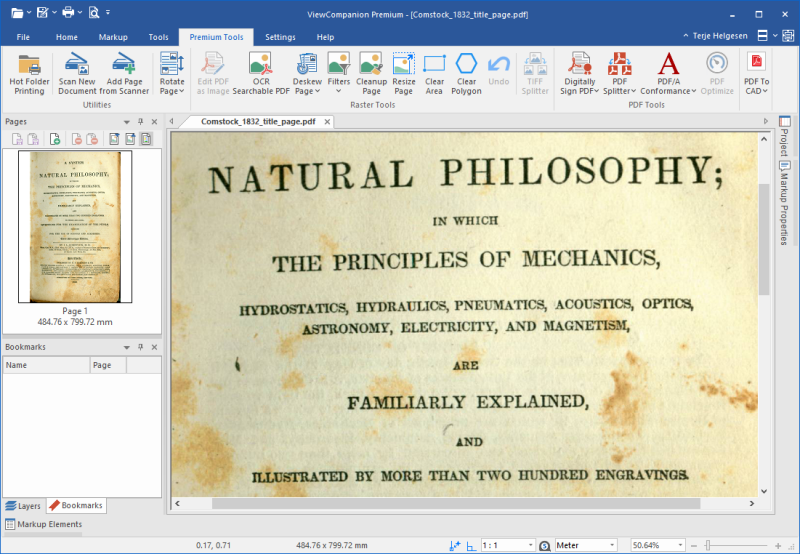
The picture below shows a typical document with foxing opened in ViewCompanion:

To remove the foxing you will now run the binarization filter.
You will find the binarization filter by pressing the Filters button found in the Premium Tools tab.
The binarization filter is the second available option.
Using the binarization filter will result in a monochrome black and white image, if you want to maintain colors you can instead try the Defoxing filter.
Please note that if your file is a PDF you have to press the "Edit PDF as Image" button first.
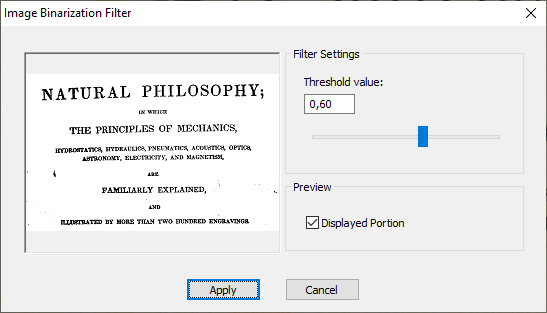
Select the binarization filter and the following dialog will appear:

In the dialog you will find a threshold value that you can change to adjust the effect of the filter.
Use the slider to change the value or enter a new value in the edit field.
The preview will show you how the selected threshold value will affect the image.
When you're satisfied with the result, just press the Apply button.
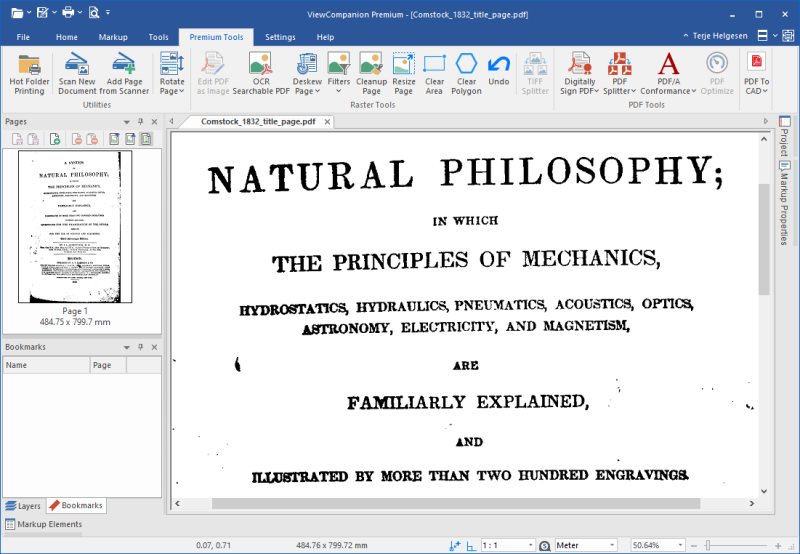
The picture below shows the same document after running the foxing removal filter:

After running the binarization filter there may still be remaining stain that was not removed.
You can usually easily remove remaining noise by using the clear area tool and the clear polygon tool.
If the image is skewed you can straighten it by running the deskew tool.
All the above mentioned tools are available from the Premium tab.
Please click the link below to read more about ViewCompanion Premium:
Read more about ViewCompanion Premium


